KB107: Working with TechSmith Camtasia
TechSmith Camtasia is a popular tool for creating screen movies and integrating video materials for playback on the web. Here are some best-practice notes for integrating the Character Builder with TechSmith Camtasia.
There are two approaches to Camtasia integration. On the one hand you can use Camtasia to create a Flash SWF movie for insertion into a Character Builder scene. The use of embedded video is described in the Character Builder User's Guide "Embedded Movie Tutorial". In this case you should be sure to use Camtasia's Legacy SWF Output option as described below. Alternatively you can use the Character Builder's video output capability to create a movie for insertion into a Camtasia project, using Camtasia's "Picture in picture" feature. In the latter case, you will typically use Camtasia to render your entire project to the FLV format.
Creating Camtasia movies for insertion into Character Builder
Use Camtasia to create your screen capture movie as you normally would. Then select "Produce video as..." from the Task List, then "Custom production settings" and "Flash". The Flash Templates screen should look like this:

Note the use of the "Legacy SWF output" template. This is the only format supported for insertion into the Character Builder. Then select the "Flash Options..." button. The Video tab should look like this:

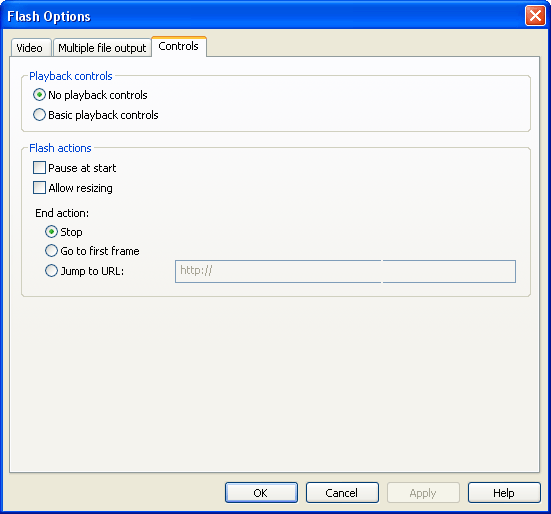
The Controls tab should look like this:
 Creating Character Builder movies for insertion into Camtasia
Camtasia does not support the embedding of Flash SWF files, but it does support the embedding of AVI video, which is the other format supported by Character Builder. You can create one or more movie clips using the Character Builder. You typically use one project per movie clip. When you use Project > Render to Video, you will normally want to choose the "Full Frames (Uncompressed)" setting. The resulting movie is very large, but Camtasia will recompress this to FLV as part of its Publish step.
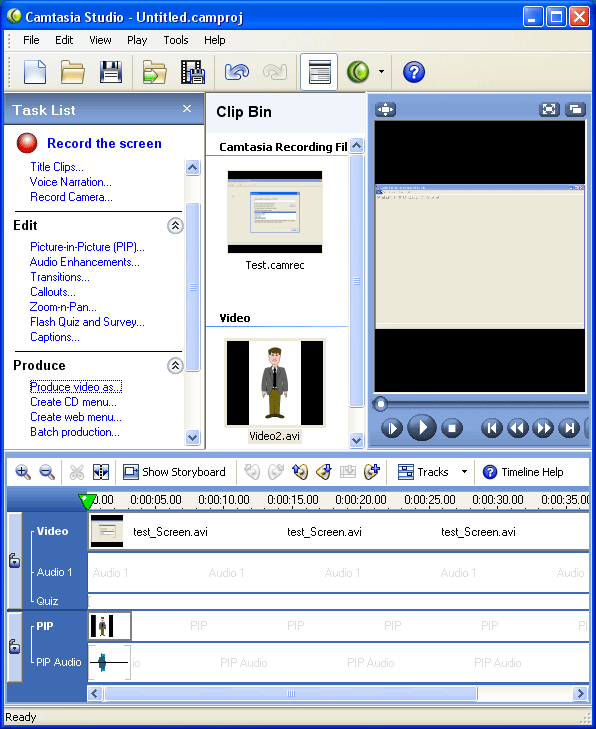
Once produced, a Character Builder-rendered AVI file can be dragged into the Camtasia Clip Bin, and from there it can be dragged into the timeline. You can use a Character Builder clip in the main timeline, as an overlay on the timeline, or in a seperate video area, normally located above the Table of Contents area. The latter two cases are called "Picture in picture" or PIP in Camtasia terminology.

Using Full Frames also produces a movie with a transparent background, which allows you to place a character directly on top of a screen recording. (Note however that the background appears white in the clip preview area.) A transparent background tends to make more sense for the full-body characters; for bust and head characters we normally recommend using a background image in the Character Builder project, so that the movie appears as an overlay.
Copyright © 2021 Media Semantics, Inc. All rights reserved.
Comments? Write webmaster@mediasemantics.com.
See our privacy policy.